PCB - ETR
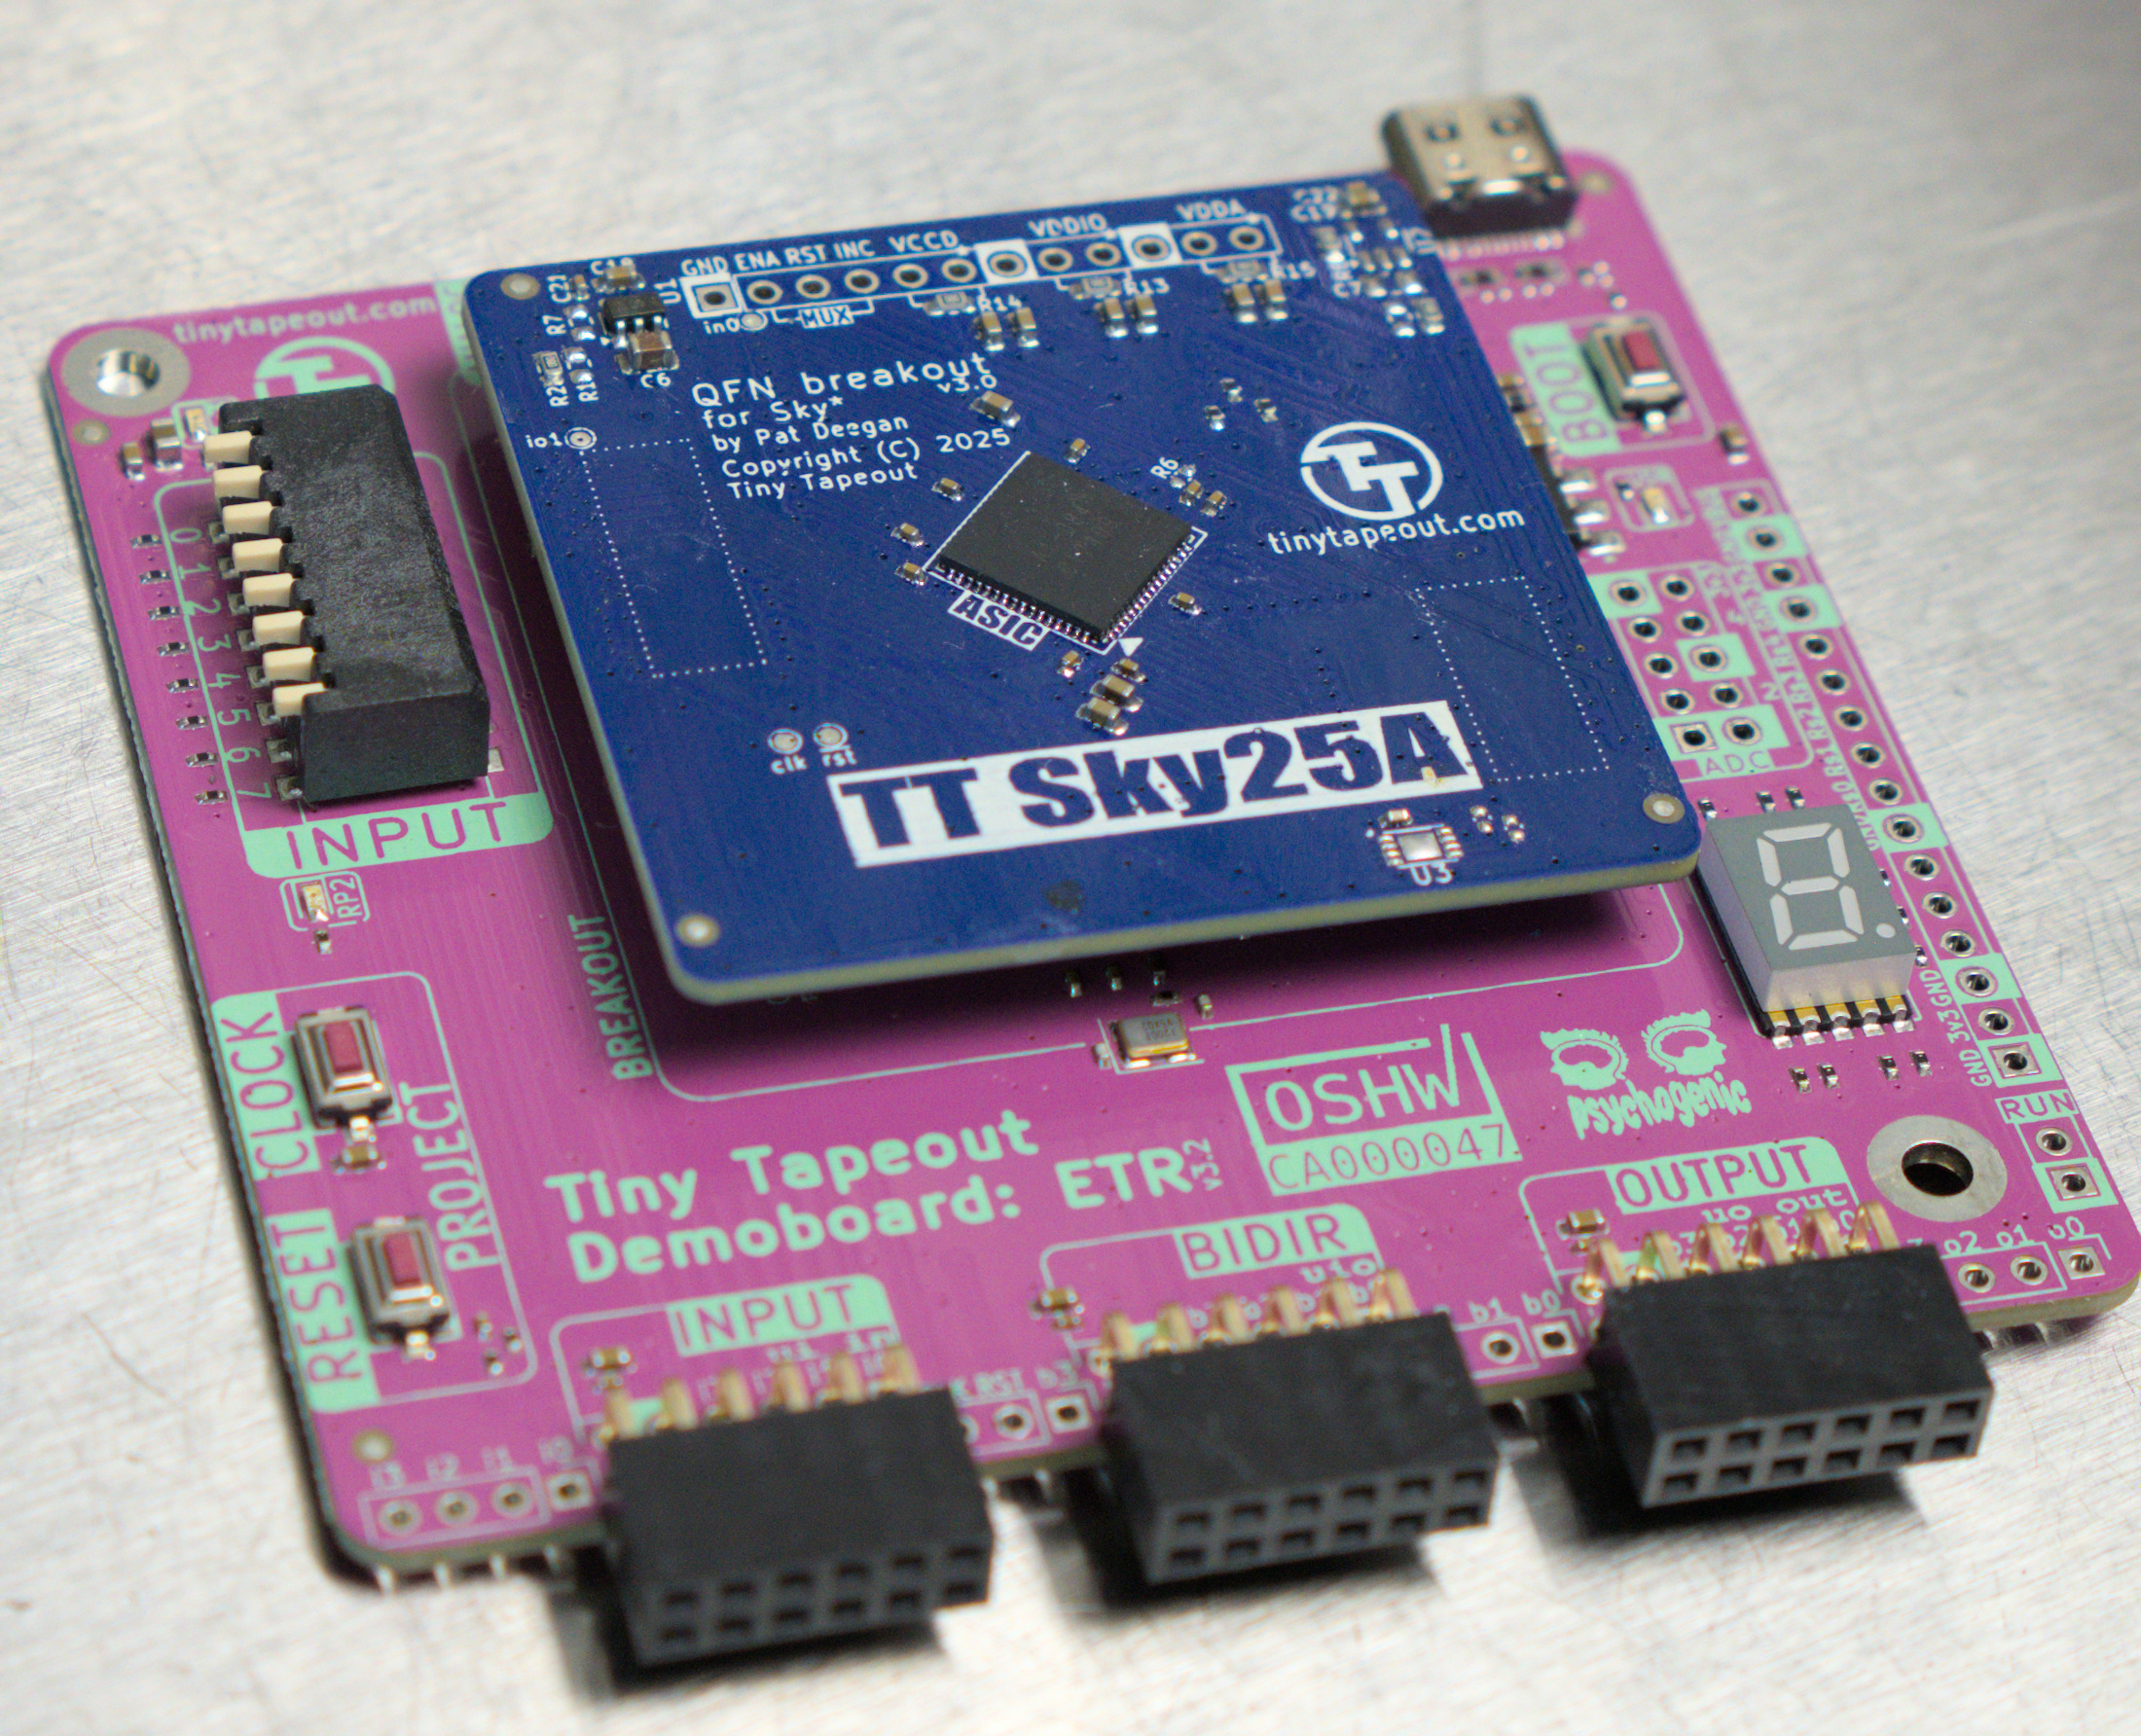
Tiny Tapeout's ETR demoboard with a TTSKY25a breakout board mounted on top
Features
- Easily removable breakout boards for ASIC and FPGA interfacing
- Keyed breakout board connectors
- USB-C for board power and data
- RP2350 microcontroller running MicroPython with the Tiny Tapeout SDK for interacting with projects
- Pmod expansion headers
- User interactable DIP switches & 7-segment display
Quick Start
If you’ve gotten yourself an ETR devkit, we encourage you to check out the quick start guide. Inside the box there is a leaflet which guides you to the correct guide, but they are linked below too.
PCB Schematics
Schematics for both the demoboard and the breakout board are available on GitHub.
- Demoboard: github.com/TinyTapeout/tt-demo-pcb
- Breakout board: github.com/TinyTapeout/breakout-pcb
With the ASIC mounted on a separate breakout board, it makes it easy for you to build your own custom motherboard without risking damage to the ASIC itself.
For TTGF shuttles, the die itself is wire bonded and epoxied to the breakout board and therefore cannot be removed.
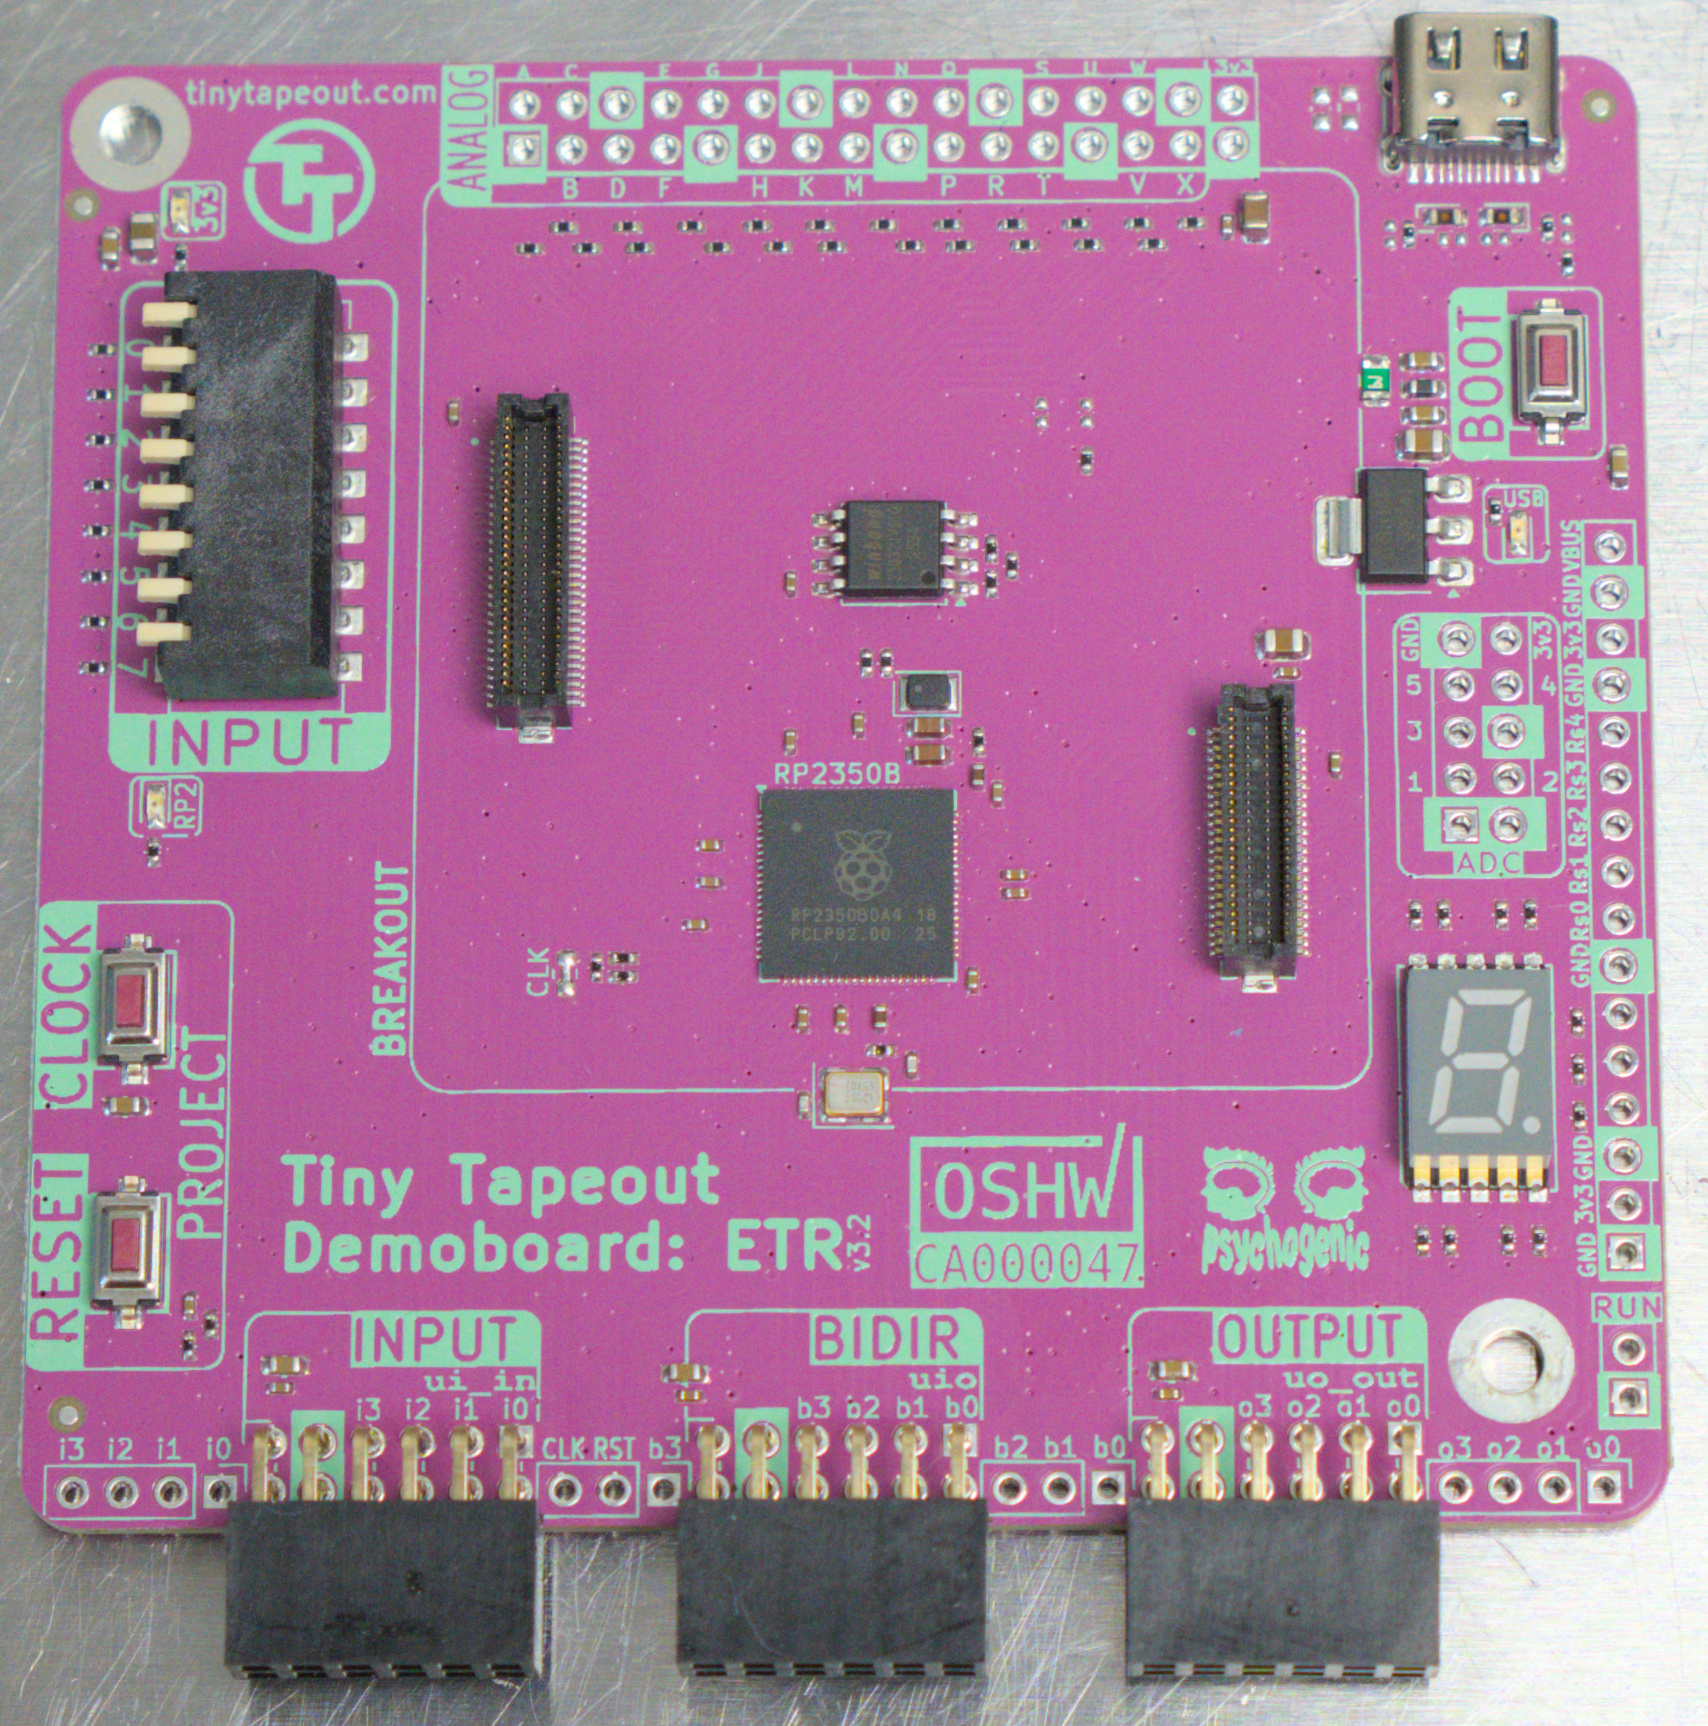
Tiny Tapeout's ETR demoboard with no mounted breakout board
General Usage
With a breakout board mounted, connect to the devkit using a USB-C cable via the USB-C port on the top right of the demoboard. The RP2350 will have been flashed with the Tiny Tapeout MicroPython firmware/SDK from the factory, meaning that you can access a REPL interface from either the terminal or via the Tiny Tapeout Commander.
With the SDK you can easily:
- select a design
- generate a clock signal or manually clock the design
- manually or programmatically toggle inputs
- read outputs
- test your design with hardware-in-the-loop using microcotb
Various Pmod expansion modules are available from the store to expand your design: